
DIY at home like a professional does not solely depend on skill. The choice of tools, their accessibility, and knowledge of regulatory constraints weigh as much as the technical gesture. This article measures the gap between a minimally equipped DIYer and one who optimizes their resources, to identify the levers that truly make a difference.
Buying or renting DIY tools: what the cost reveals
The majority of DIY guides assume that every tool must be purchased. This approach penalizes beginners who hesitate to invest in professional equipment for occasional use.
See also : Tips and Tricks for Maintaining Health and Aging Well Daily
| Criterion | Purchase (mid-range tool) | Rental between individuals |
|---|---|---|
| Entry cost | High (hammer drill, circular saw, sander) | A few euros per day via platforms like Allovoisins or Zilok |
| Quality of the available tool | Variable depending on the budget | Often semi-professional or professional equipment |
| Storage | Permanent clutter | No clutter after return |
| Relevance for rare use | Low (tool unused most of the time) | High (pay-per-use) |
| Access to professional range | Reserved for substantial budgets | Accessible from the first rental |
The rise of rental platforms for tools between individuals changes the game. Players like Allovoisins and Zilok are seeing a significant increase in demand, driven by inflation and the need for occasional equipment. Renting a professional tool costs a fraction of the purchase price and allows you to work with reliable equipment from the first project.
To find additional tips and resources suitable for DIYers of all levels, Mulot Bricole offers content that goes beyond just tutorials.
Recommended read : Tips and Inspirations for Organizing and Maintaining Your Home Daily
Electrical safety at home: the standard that DIYers ignore
Changing a socket, adding a light fixture, or replacing a switch are among the most common tasks in home DIY. Few DIYers realize the consequences of a poorly executed intervention on an electrical circuit.
The NF C 15-100 standard, revised in 2015 and regularly updated, governs all residential electrical installations. It imposes specific rules on specialized circuits, differential protections, and safety volumes in wet rooms.
What insurers check in case of a claim
The French Insurance Federation reminds us that poorly executed electrical work by an individual can lead to a challenge to compensation in the event of a claim. A short circuit caused by non-compliant wiring, an electrical panel modified without respecting wire sections: these situations expose the DIYer to a refusal of coverage.
- Work on the electrical panel and specialized circuits (cooking plate, water heater) requires strict adherence to the NF C 15-100 standard
- Interventions in wet rooms must comply with specific protection volumes, with minimum distances between water points and electrical devices
- An electrical diagnosis performed by a certified professional remains the only way to validate compliance after significant work
The rule is simple: replacing a switch or a surface-mounted socket is accessible, but any modification of a circuit or intervention on the panel requires a qualified professional. DIYing like a pro, in this regard, means knowing your limits.
Learning DIY: short video format versus written guide
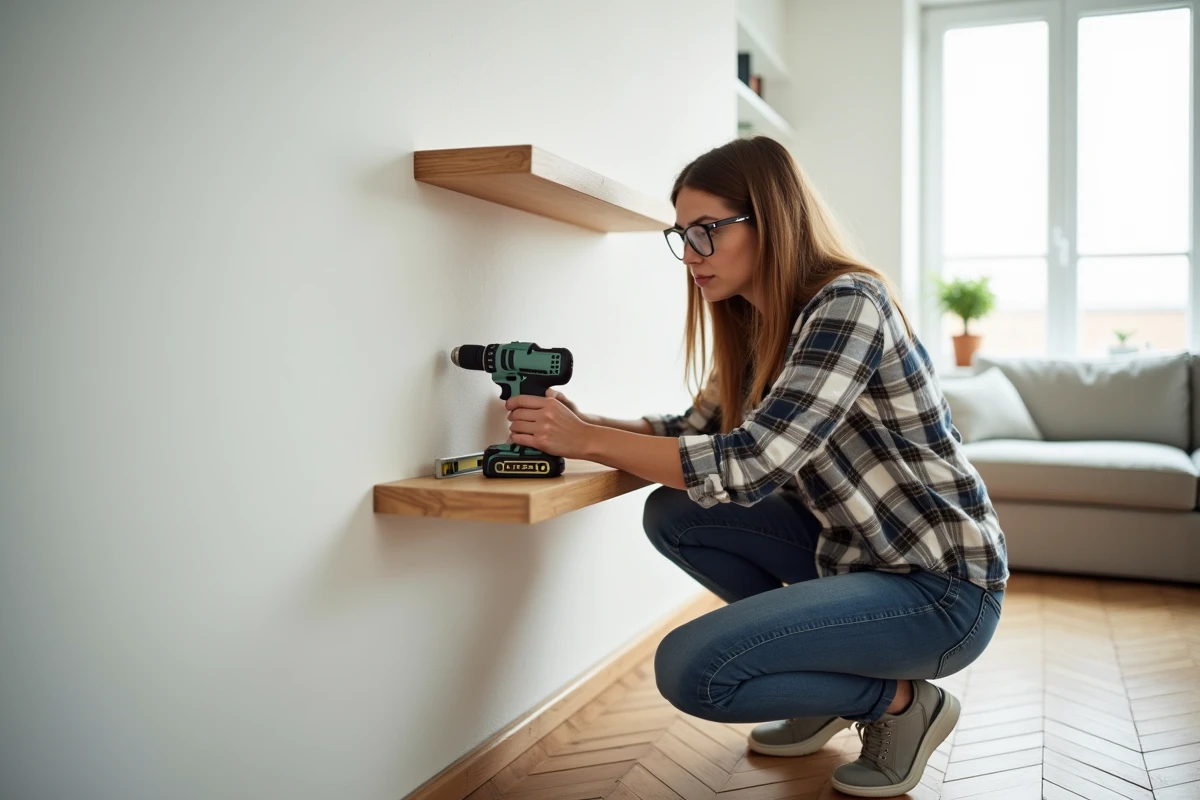
The learning of DIY gestures has shifted towards short video. Tutorials of a few minutes, focused on a single technical gesture (applying silicone sealant, drilling into concrete, connecting a hose), dominate searches.
This format has a measurable advantage: the visual demonstration of a gesture reduces the misinterpretation errors generated by text, no matter how detailed it is. Seeing the pressure applied to a putty knife or the angle of attack of a drill conveys information that words struggle to express.
The limits of the short format
However, short videos often omit the preparation of the surface, the choice of materials, and drying times. A DIYer applying a filler without dusting or moistening the surface will achieve a mediocre result, regardless of the quality of the gesture copied in the video.
Preparation accounts for half of the work on most DIY projects. A detailed written guide is more suitable for this phase, where the list of materials, waiting times, and application conditions matter as much as the final gesture.

Materials and finishes: costly choice errors
Buying the right paint, the right filler, or the right type of screw for the right substrate makes the difference between a durable result and work that needs to be redone in six months. Beginner DIYers often underestimate this parameter.
- An oil-based paint applied in a humid room without a suitable undercoat will blister in a few months, whereas a special water-based paint will last several years
- Wood screws used in metal or drywall will not hold, even with the best screwing technique
- A kitchen silicone sealant applied on a greasy or dusty surface will peel off in a few weeks
- A smoothing compound applied in too thick a layer will crack upon drying, while two thin passes will yield a clean result
The choice of material suitable for the substrate determines the durability of the work. Reading the technical label of the product before applying it avoids most failures. The technical data sheets from manufacturers specify compatible substrates, drying times, and application conditions (temperature, humidity).
The main gap between an amateur DIYer and a professional is not in dexterity. It lies in the ability to choose the right tool, the right material, and to respect the preparation steps. DIYing like a pro means accepting that preparation takes more time than the gesture.